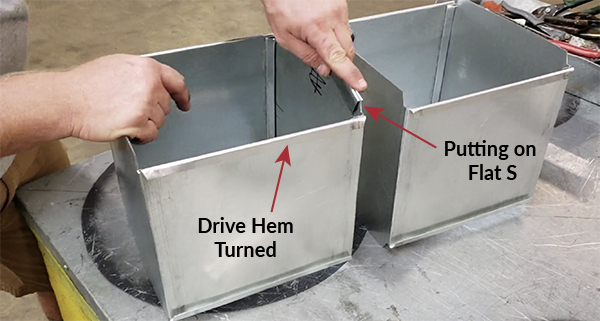
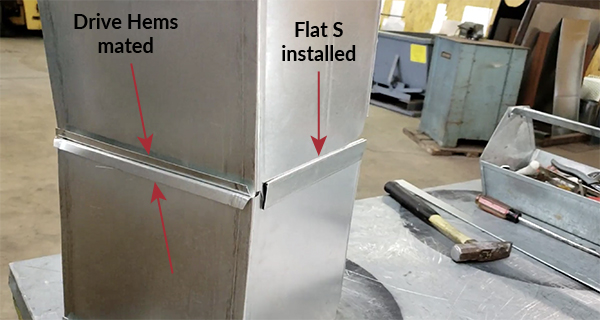
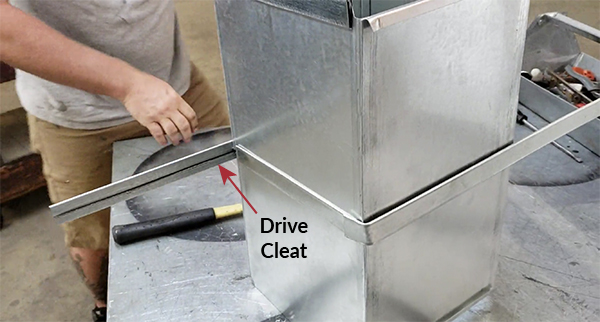
Slip & Drive Duct— The most common transverse (end to end) connection for commercial HVAC Duct. The Drive Cleat is secured to the 360 degree flanged section on left (formed by a Cleatbender or Drive Turn machine). The Flat S Lock is hammered onto the section on right. For most low and medium pressure jobs, Duct Slip and Drive connections meet SMACNA standards
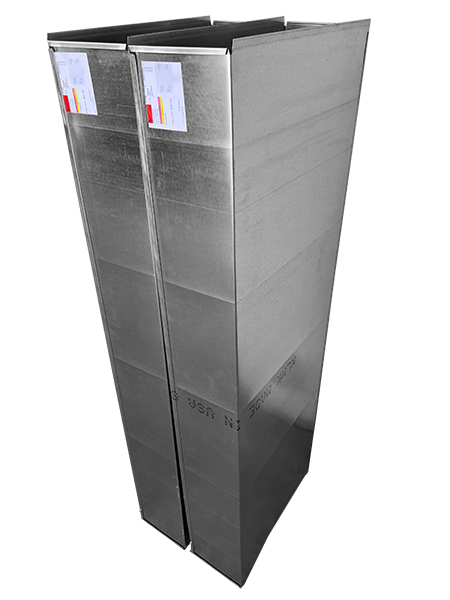
Slip and Drive Duct is the most common type of rectangular ductwork. Even the largest Duct fab shops will tell you that Slip and Drive duct accounts for a greater percentage than the TDC/F and Ductmate flanged duct they produce.
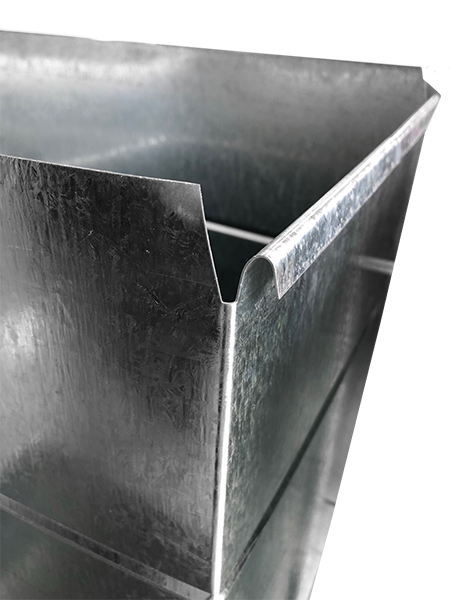
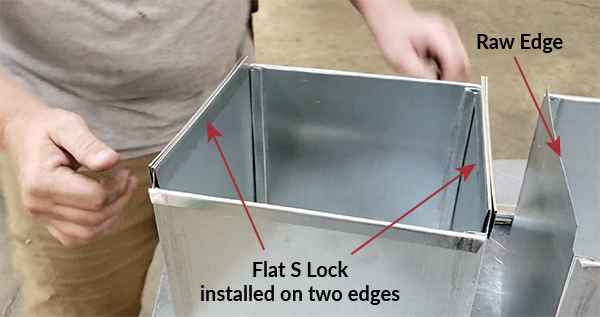
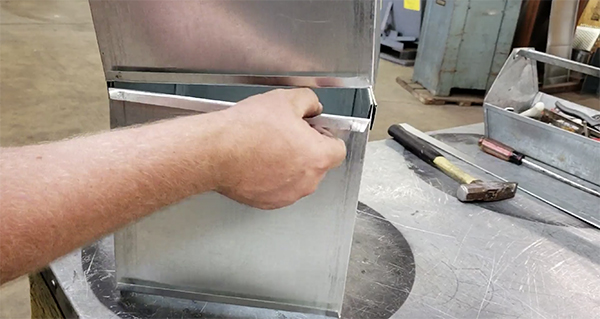
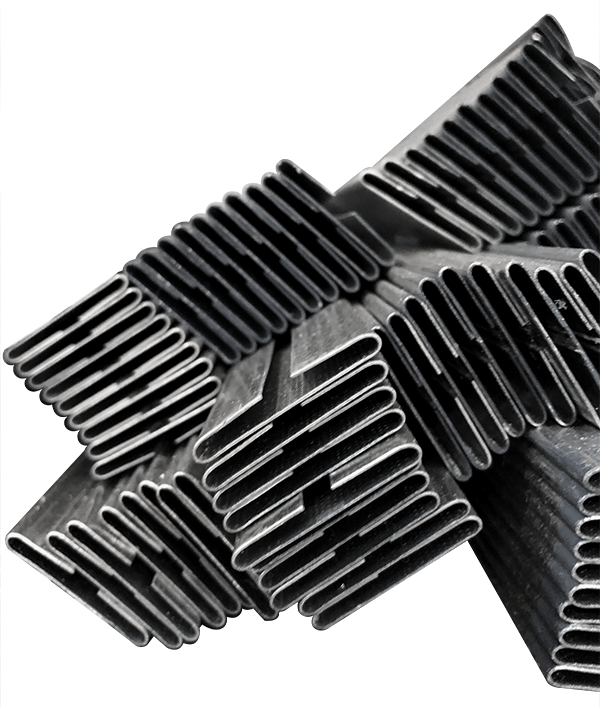
Each rectangular piece has four sides; on Slip & Drive Duct, the two shorter sides are the hem for the drive Cleat; the two longer sides are the raw edges for Flat S (or Standing S) Lock
In low pressure duct, the standard means of connecting two assembled rectangular duct sections at the transverse joint (end to end) is the Flat S Lock and Drive Cleat. The Flat S is used on the bottom and top of duct (the long side) and the Drive Cleat is used on the left and right sides (the short side).
It’s rare to witness the installation of Slip & Drive Duct because it’s always connected on the job site, usually in the air. This instruction video, courtesy of Brian Campbell was made just to demonstrate to us how it’s connected.
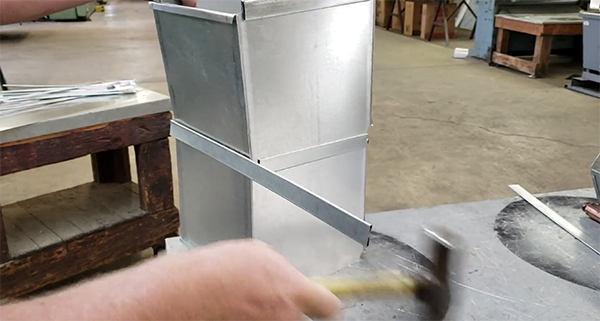
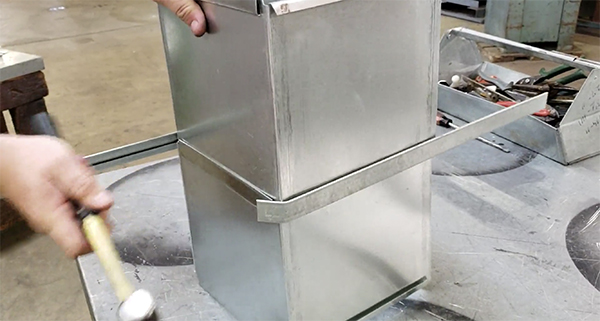
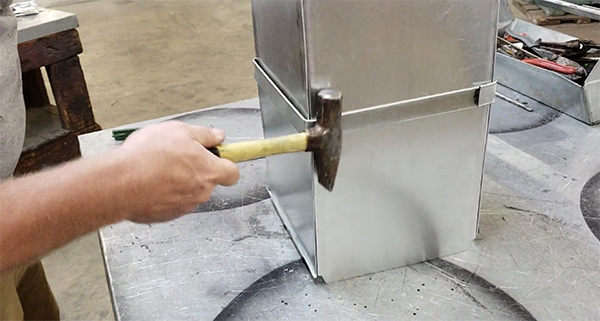
Pulling duct together so drive turns are mated Drive hems are mated in preparation for drive cleat Drive cleat hammered over the two mated hem edges Drive cleat hammered across and around Duct to overlap a bit on S Lock
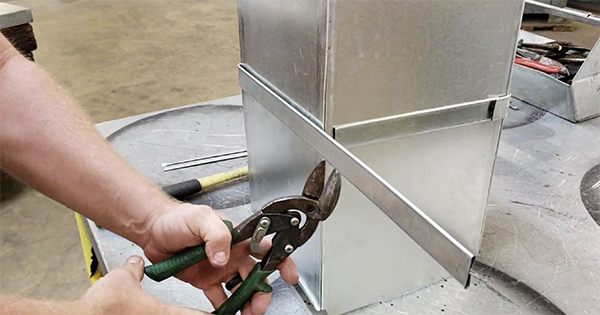
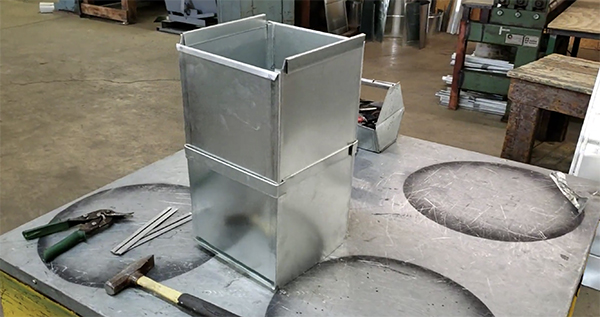
Offset snips to cut off the “drop” Among the many uses of a Tinner’s hammer Two duct sections completed with Slip & Drive Drive Cleats
We use cookies to ensure that we give you the best experience on our website. If you continue to use this site we will assume that you are happy with it.